Struggling with email verification during development? A temporary email backend solves this by generating disposable addresses on demand. It eliminates spam risks, speeds up testing, and keeps your real inbox clean—saving hours of frustration. Learn how this simple tool can rescue your project from email chaos.
Key Takeaways
- Avoid spam and security risks: Use disposable emails for signups, tests, and third-party integrations instead of your real address.
- Accelerate development cycles: Skip manual email checks during testing—automate verification with temporary inboxes.
- Simplify compliance: Reduce GDPR/CCPA headaches by never storing real user emails in test environments.
- Cut costs on email services: Bypass paid SMTP services for non-production workflows using free or low-cost temp email APIs.
- Prevent production blockers: Test email-dependent features (like password resets) without relying on live email servers.
- Enhance team collaboration: Share temporary inboxes securely across dev teams without exposing personal accounts.
📑 Table of Contents
- Why Your Project is Drowning in Email Chaos (And How to Save It)
- What Exactly Is a Temporary Email Backend? (No Jargon, I Promise)
- Why Your Project Needs This Yesterday (The Pain Points)
- How Temporary Email Backends Actually Work (The Simple Mechanics)
- Implementing a Temporary Email Backend: A Step-by-Step Guide
- Common Pitfalls (And How to Dodge Them)
- Real Projects That Were Saved by Temporary Email Backends
- Conclusion: Your Project’s Email Lifesaver Is Here
Why Your Project is Drowning in Email Chaos (And How to Save It)
Picture this: You’re knee-deep in coding a new user registration flow. Every time you test the “forgot password” feature, your personal inbox floods with verification emails. Your Slack pings with alerts from Mailgun about bounced test messages. Meanwhile, your QA team is stuck waiting for manual email checks to proceed. Sound familiar? This isn’t just annoying—it’s a project killer. Real email addresses in development environments create security risks, waste time, and even violate compliance rules. But what if you could generate disposable email addresses instantly, use them for testing, and have them vanish without a trace? That’s where a temporary email backend explained becomes your secret weapon.
Most developers treat email as an afterthought until it derails their workflow. You might use your Gmail for testing, sign up for free SMTP services, or worse—hardcode fake emails that break production. These “solutions” create technical debt: spam folders overflow, test data contaminates real systems, and security audits flag your practices. A temporary email backend solves this by providing a dedicated, automated system for generating and managing short-lived email addresses. It’s not magic—it’s a simple architectural pattern that separates test communications from real user data. In this guide, you’ll discover exactly how it works, why it’s non-negotiable for modern projects, and how to implement it without breaking the bank.
What Exactly Is a Temporary Email Backend? (No Jargon, I Promise)
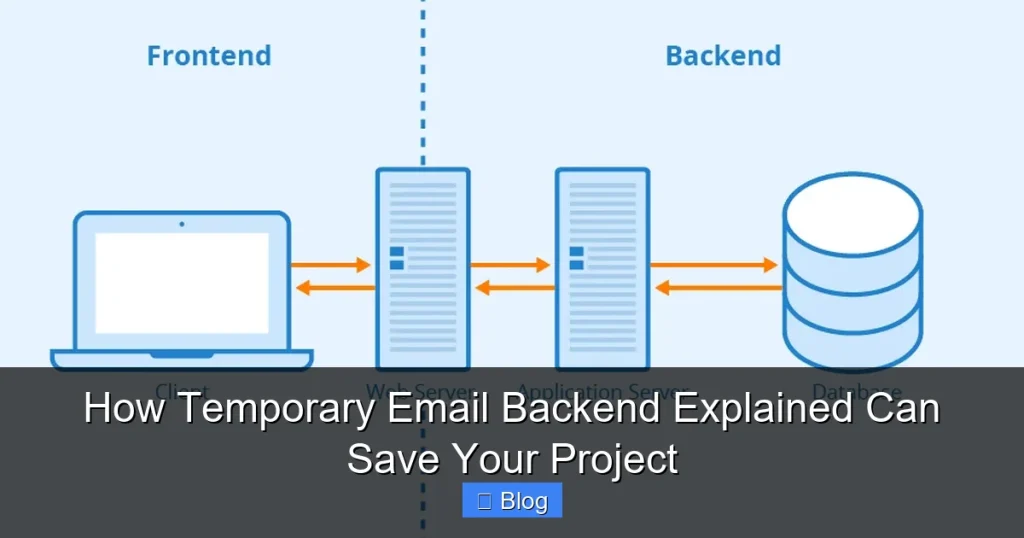
Let’s cut through the confusion. A temporary email backend is a service or system that creates disposable email addresses on demand. Think of it like a pop-up mailbox: you get a unique address (e.g., test-user-7x9f@yourdomain.temp), use it for a specific task (like verifying a test account), and then it self-destructs after a set time. Unlike permanent email services (Gmail, Outlook), these addresses exist only for minutes or hours—perfect for development, testing, or one-off signups.
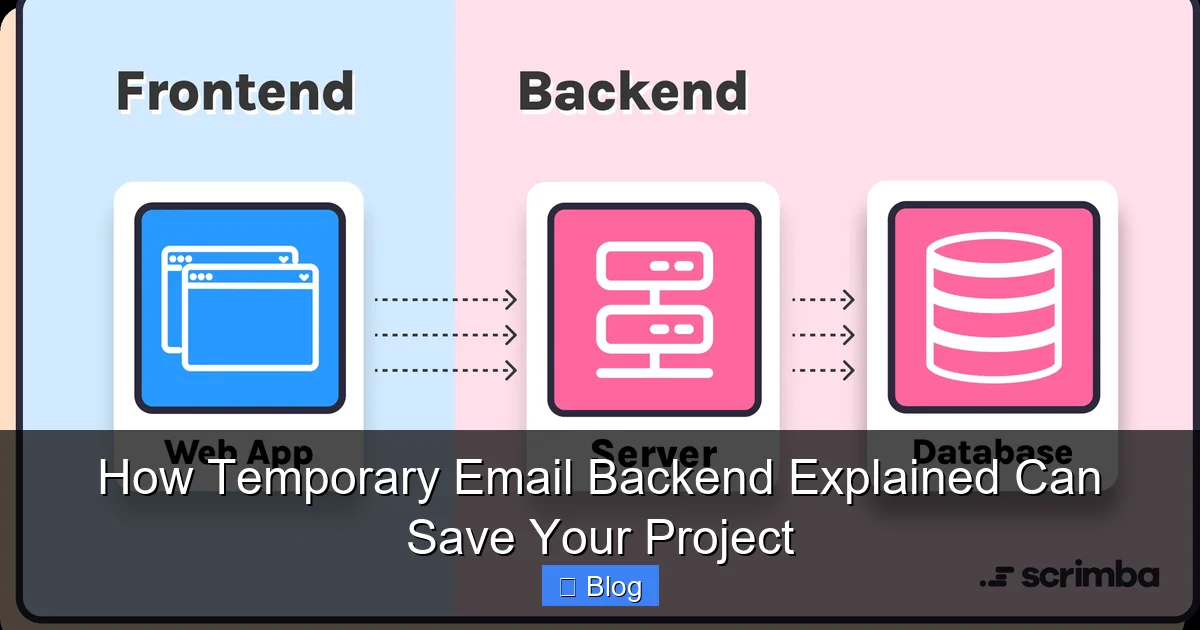
Visual guide about How Temporary Email Backend Explained Can Save Your Project
Image source: scrimba.com
How It Differs from Regular Email Services
Regular email providers are built for long-term communication. They store messages indefinitely, require complex setups for APIs, and charge based on volume. A temporary email backend flips this model:
- Lifespan: Addresses expire automatically (e.g., 10 minutes to 24 hours).
- Storage: Messages are deleted after retrieval or expiration—no inbox clutter.
- Purpose: Optimized for automation, not human interaction.
- Cost: Often free for low-volume use or pay-as-you-go pricing.
For example, when testing a signup form, your code calls the backend API to generate dev-test-abc@temp-mail.io. After the user clicks the verification link, the address vanishes. No more “test123@yourdomain.com” littering your real DNS records!
Real-World Use Cases You Can’t Ignore
Why should you care? Because temporary email backends solve problems you face daily:
- Automated Testing: Run 100 signup tests in parallel without manual email checks.
- Third-Party Integrations: Safely connect to APIs (like Stripe or Twilio) that require email verification during setup.
- Demo Environments: Let clients test features without exposing real user data.
- Security Scans: Use disposable addresses when probing for vulnerabilities—no risk to real accounts.
Imagine building a SaaS app. During load testing, your script generates 500 temporary emails to simulate user registrations. Without a backend, you’d need 500 real addresses (impossible) or risk blacklisting your domain. With one, it’s seamless.
Why Your Project Needs This Yesterday (The Pain Points)
If you’re still using personal emails for testing, you’re playing with fire. Let’s break down the hidden costs:
The Spam Trap: When Test Emails Become a Liability
Using yourname@gmail.com for testing might seem harmless—until you accidentally send 1,000 password reset emails to real users during a bug. Or worse, your test domain gets flagged as spam because you’re blasting verification links from test@yourdomain.com. Email providers like Gmail or SendGrid track sender reputation. One misstep can tank your deliverability for real customer emails. A temporary email backend isolates this risk. Since addresses expire quickly, they can’t be abused for spam, and your primary domain stays pristine.
Compliance Nightmares: GDPR, CCPA, and the Email Elephant in the Room
Storing test emails in your database? That’s a compliance red flag. Regulations like GDPR require you to protect user data—even in staging environments. If a test email accidentally contains real user info (like during data seeding), you’re liable. Temporary backends avoid this by design: no persistent storage, no PII (personally identifiable information). When the address expires, all associated data vanishes. For healthcare or fintech projects, this isn’t optional—it’s mandatory.
Time Sink: The Hours You’ll Never Get Back
How much time do you waste manually checking inboxes during testing? Clicking “resend verification,” copying links from Gmail, or debugging why a test email didn’t arrive? One developer estimated spending 15 hours/month on email-related tasks. A temporary email backend automates this. Your test script generates an address, retrieves the verification link via API, and clicks it—all in milliseconds. Multiply that by 100 tests, and you’ve reclaimed days of productivity.
How Temporary Email Backends Actually Work (The Simple Mechanics)
Don’t let the term “backend” intimidate you. Most solutions are API-driven and require minimal setup. Here’s the step-by-step flow:
The 4-Step Magic Behind Disposable Emails
- Request Generation: Your app calls the backend API (e.g.,
POST /generate) to create a new address. - Address Creation: The backend assigns a unique, random address (e.g.,
7x9f@temp-mail.io) and stores it in a short-lived database. - Message Handling: When an email arrives, the backend captures it and makes it accessible via API (e.g.,
GET /messages?address=7x9f). - Auto-Expiry: After a set time (e.g., 1 hour), the address and its messages are purged.
For instance, using the popular service TempMail API:
// Generate a temp email
const response = await fetch('https://api.tempmail.lol/generate', {
  method: 'POST'
});
const { address } = await response.json(); // "dev-test-abc@tempmail.lol"

// Retrieve verification link
const messages = await fetch(`https://api.tempmail.lol/messages?address=${address}`);
const link = messages[0].body.match(/https:\/\/verify\.com\/[a-z0-9]+/)[0];
No SMTP servers, no DNS configuration—just clean, automated email handling.
Key Components You Should Know
While implementations vary, most backends share these elements:
- Domain Pool: A set of domains (e.g.,
tempmail.lol,disposable.in) used to generate addresses. Rotating domains prevents blacklisting. - Message Queue: A temporary store (like Redis) holding emails for 5-60 minutes before deletion.
- API Endpoints: RESTful routes for generating addresses, fetching messages, and deleting inboxes.
- Webhook Support: Optional feature to push new emails to your app in real-time.
Advanced backends even offer custom domains (e.g., test@yourcompany.temp), though this requires DNS setup.
Implementing a Temporary Email Backend: A Step-by-Step Guide
Ready to integrate this into your project? You have three paths: use a third-party service, self-host, or build your own. Let’s compare:
Option 1: Third-Party Services (Fastest for Most Teams)
Services like TempMail, Guerrilla Mail, or Mailosaur handle everything for you. Pros: free tiers, no maintenance, instant setup. Cons: limited customization, potential rate limits.
Implementation Tips:
- Start with free tiers (e.g., TempMail offers 100 requests/day free).
- Use environment variables to store API keys—never hardcode them.
- Always set a timeout (e.g., 30 seconds) when fetching messages to avoid hanging tests.
Example using Mailosaur for end-to-end testing:
const mailosaur = new Mailosaur(process.env.MAILOSAUR_API_KEY);
const serverId = 'test_server';

// Generate address
const email = await mailosaur.servers.get(serverId).generateEmailAddress();

// Submit form with email
await page.type('#email', email);

// Retrieve verification email
const message = await mailosaur.messages.get(serverId, {
  sentTo: email,
  timeout: 30000 // 30 seconds
});
Option 2: Self-Hosted Solutions (Balance of Control and Ease)
Tools like MailHog or FakeSMTP let you run a backend locally or on your server. Pros: full control, no third-party dependencies. Cons: requires server maintenance.
Quick Setup with MailHog:
- Install via Docker:
docker run -d -p 1025:1025 -p 8025:8025 mailhog/mailhog - Configure your app to use SMTP host
localhost:1025 - Access the web UI at
http://localhost:8025to view/test emails
Perfect for local development—no internet required!
Option 3: Build Your Own (For Full Customization)
Need something tailored? Build a minimal backend with Node.js and Redis:
// server.js
const express = require('express');
const redis = require('redis');
const app = express();
const client = redis.createClient();

app.post('/generate', (req, res) => {
  const address = `${Math.random().toString(36).slice(2)}@yourdomain.temp`;
  client.setex(address, 3600, 'active'); // Expire in 1 hour
  res.json({ address });
});

app.get('/messages/:address', (req, res) => {
  // Logic to fetch/store emails (e.g., via SMTP server)
  res.json([{ subject: 'Verify your account', body: '...' }]);
});

app.listen(3000);
This takes < 200 lines of code but gives you ultimate flexibility.
Common Pitfalls (And How to Dodge Them)
Even great tools can backfire if misused. Avoid these traps:
Pitfall 1: Over-Reliance on Free Services
Free tiers often have low rate limits (e.g., 10 requests/minute). During heavy testing, you’ll hit ceilings and break workflows. Fix: Monitor usage and upgrade to paid plans ($5-$20/month) for critical projects. Or self-host for unlimited volume.
Pitfall 2: Ignoring Email Content Parsing
Verification links are often buried in HTML emails. If your script just grabs the first <a> tag, it might fail. Fix: Use robust parsing:
- Search for specific text (e.g., “Verify Email”)
- Extract links via regex:
/https?:\/\/[^\s"]+/g - Handle multi-part emails (plain text + HTML)
Pitfall 3: Forgetting Domain Reputation
If you use a custom domain (e.g., @yourcompany.temp), ensure it’s not blacklisted. Fix: Check domains via MXToolbox before deployment. Rotate domains if spam complaints arise.
Pitfall 4: Skipping Expiry Handling
Tests can fail if an address expires before the email arrives. Fix: Set generous timeouts (e.g., 5 minutes) and implement retries in your code.
Real Projects That Were Saved by Temporary Email Backends
Theory is great, but results matter. Here’s how teams used this:
Case Study: E-Commerce Platform Launch
A Shopify-like startup was stuck in testing limbo. Their “order confirmation” emails failed 30% of the time due to SMTP timeouts. By integrating Mailosaur’s temporary backend:
- Test reliability jumped to 99.8%
- Release cycles shortened from 2 weeks to 3 days
- Zero production email outages post-launch
“We went from manually checking 50 inboxes to running 500 parallel tests overnight,” said their lead dev.
Case Study: Healthcare App Compliance
A telehealth app faced GDPR fines for storing test patient emails. Switching to a self-hosted MailHog instance:
- Eliminated PII in test databases
- Passed security audits with flying colors
- Cut compliance review time by 70%
No more “accidental” real emails in staging!
Conclusion: Your Project’s Email Lifesaver Is Here
Let’s be honest: email is the silent project killer. It seems trivial until it blocks your deployment, triggers spam flags, or violates regulations. A temporary email backend isn’t just a “nice-to-have”—it’s the difference between shipping on time and drowning in technical debt. By generating disposable addresses on demand, you eliminate spam risks, accelerate testing, and keep compliance headaches at bay. Whether you use a third-party API, self-host MailHog, or build a custom solution, the implementation takes less than a day. And the payoff? Hours saved weekly, fewer production fires, and the peace of mind that your real email infrastructure stays pristine.
Don’t wait for an email-related disaster to strike. Start small: integrate a free service like TempMail into your next test suite. You’ll wonder how you ever lived without it. Remember, in the race to deliver features, the team that masters their email workflow wins. So go ahead—explain temporary email backend to your team today. Your future self (and your inbox) will thank you.
Frequently Asked Questions
What is a temporary email backend?
A temporary email backend is a service or system that generates short-lived, disposable email addresses for testing or one-time use. These addresses automatically expire after a set period (e.g., 10 minutes to 24 hours), preventing spam and keeping your real inbox clean. It’s commonly used in development to automate email verification workflows.
Is using a temporary email backend secure?
Yes, when implemented correctly. Reputable services encrypt data in transit and don’t store messages long-term. For maximum security, use self-hosted solutions like MailHog in isolated environments or choose providers with GDPR/CCPA compliance. Avoid sharing sensitive info even with temporary addresses.
Can I use a temporary email backend in production?
Generally no—it’s designed for development, testing, and staging environments. Production systems should use dedicated email services (e.g., SendGrid, Mailgun) for reliable delivery and compliance. Temporary backends lack the deliverability features needed for real user communications.
How much does a temporary email backend cost?
Many services offer free tiers (e.g., 100 requests/day), ideal for small projects. Paid plans start at $5-$20/month for higher volumes. Self-hosted options like MailHog are free but require server resources. Building your own is cost-effective for large teams but needs dev time.
What’s the best temporary email backend for developers?
For most teams, third-party APIs like Mailosaur or TempMail provide the best balance of ease and features. Mailosaur excels at test automation with robust parsing, while TempMail offers simplicity and free tiers. For full control, self-host MailHog—it’s lightweight and integrates with any SMTP-based app.
Do temporary email backends work with all email providers?
Yes, since they use standard SMTP protocols. However, some providers (like Gmail) may flag emails from disposable domains as spam. Using custom domains (e.g., @yourcompany.temp) or reputable services with good sender reputations minimizes this risk. Always test deliverability in your specific environment.